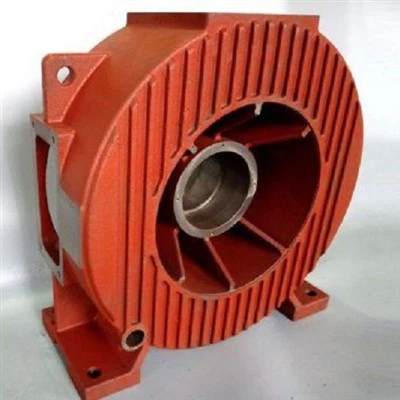
Hey there! As a supplier of mechanical brackets, I'm super excited to share with you how to install a mechanical bracket. Whether you're a DIY enthusiast or a professional in the field, this guide will walk you through the process step by step.
First things first, let's talk about what you'll need. You'll need the mechanical bracket itself, of course. We offer a wide range of high - quality mechanical brackets that are designed to meet various needs. Along with the bracket, you'll need some basic tools. A drill is essential for making holes if you're mounting the bracket on a surface. You'll also need screws or bolts, depending on the type of installation. A screwdriver or a wrench will be used to tighten these fasteners. And don't forget a measuring tape to ensure accurate placement.


Step 1: Planning and Preparation
Before you start the installation, it's crucial to plan. Decide where you want to install the mechanical bracket. Make sure the surface is clean and free of debris. If it's a wall, check for any studs or other structural elements that can provide better support. Measure the area where the bracket will be placed. You need to ensure that there's enough space for the bracket and that it won't interfere with other objects.
Let's say you're installing a bracket to hold a heavy piece of equipment. You'll want to make sure the location can handle the weight. For example, if you're mounting it on a wall, you might want to use wall anchors for extra support.
Step 2: Marking the Holes
Once you've determined the location, use a pencil to mark the holes on the surface. If the bracket comes with a template, that's even better. Place the template on the surface and mark the holes according to it. Double - check the measurements to make sure everything is in the right place.
Step 3: Drilling the Holes
Now it's time to drill the holes. Use the appropriate drill bit size for the screws or bolts you'll be using. Make sure to drill straight and at the right depth. If you're drilling into a hard surface like concrete, you might need a special drill bit. Go slow and steady to avoid any mistakes.
Step 4: Inserting Fasteners
After drilling the holes, insert the screws or bolts. If you're using wall anchors, insert them into the holes first. Then, place the mechanical bracket over the holes and start screwing or bolting it in place. Tighten the fasteners evenly to ensure a secure fit. Don't overtighten, as this can damage the bracket or the surface.
Step 5: Checking the Installation
Once the bracket is installed, give it a good shake to make sure it's stable. Check if it's level. If it's not, you can adjust the fasteners to make it level. Also, make sure that the bracket is firmly attached and can support the intended load.
Now, I'd like to mention some of our other products that might be of interest to you. We also offer Grey Iron Casting Parts. These parts are known for their durability and strength. They're used in a variety of mechanical applications.
Another great product we have is the Gear Coupling Hub. It's an important component in many mechanical systems, providing a reliable connection between shafts.
And if you're in need of a Fan Housing, we've got you covered. Our fan housings are designed to protect the fan and improve its performance.
If you're interested in our mechanical brackets or any of our other products, we'd love to have a chat with you. Whether you have questions about installation, product specifications, or pricing, feel free to reach out. We're here to help you find the right solutions for your mechanical needs.
In conclusion, installing a mechanical bracket isn't as difficult as it might seem. With the right tools, a bit of planning, and following these steps, you can have your bracket installed in no time. And if you ever need more mechanical components, we're just a message away.
References:
- General knowledge of mechanical installation procedures
- Product specifications and installation guides from our company's inventory